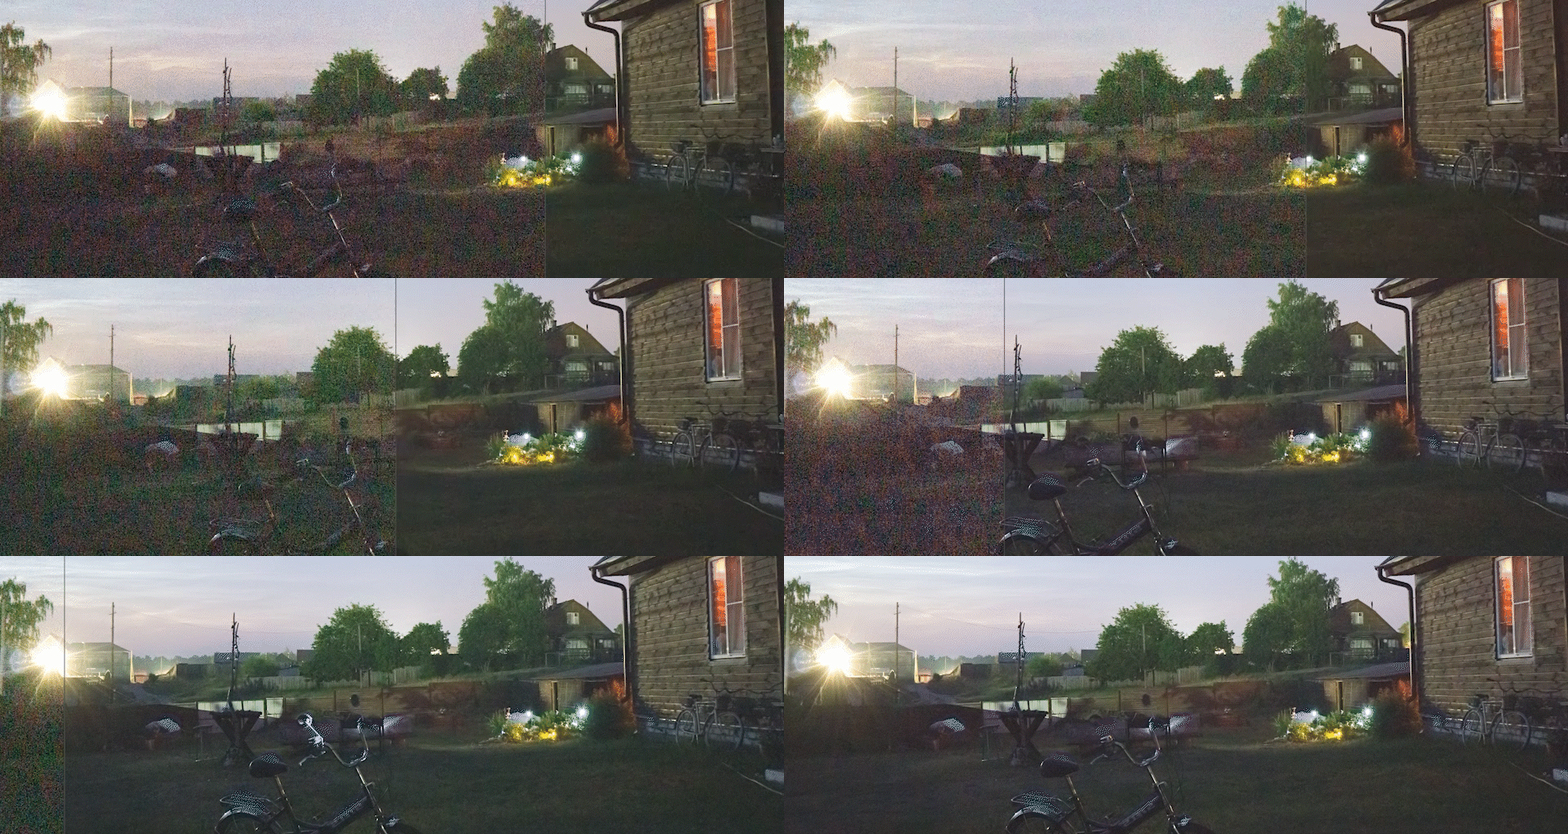
Post-Production - Do you know how to recover grainy footage?
Last updated by Brook Jeynes [SSW] 5 months ago.See historyIn the world of video production, capturing pristine footage is not always feasible. Environmental factors, equipment limitations, and shooting conditions can introduce unwanted digital grain (aka "noise") and imperfections into your videos. Fortunately, there are ways to rescue your footage and elevate its quality to new heights, using denoising and enhancement tools. One of the best tools for this is Neat Video, a plug-in that works with most NLEs (non-linear editors), including Adobe Premiere Pro & After Effects, Final Cut, and Davinci Resolve.
Neat Video
Neat Video is a professional-grade noise reduction solution that effectively reduces various types of visual noise, including grain, sensor noise, compression artifacts, and random flicker, among others. By employing advanced algorithms and artificial intelligence, Neat Video analyzes your video frames to identify and suppress noise, resulting in significantly cleaner and more visually appealing footage.
When to Use Noise Reduction
- Low-light footage: When the light conditions are too low for your camera's sensor, this will make the sensor need to work harder to get an image, which often results in grainy footage.
Note: This can sometimes be avoided when filming by turning up your lights, adding more lights, or opening your aperture.

- High ISO Footage: If your camera is set to a high ISO setting is used often leads to grainy videos. Neat Video excels in reducing this noise, allowing you to salvage otherwise unusable footage and restore clarity and detail.
Note: Try to avoid this when filming by keeping your ISO settings low.

- Flicker: when a camera's framerate clashes with a light's frequency, it can cause a flickering effect. This can be quite distracting and can ruin otherwise beautiful shots.
Note: You can try to avoid this while shooting by matching your camera's framerate to the Hertz frequency of the light. (e.g. American lights run on 60Hz, so shoot at 60fps. Australian lights run at 50Hz, so shoot at 50fps)

- Dirty Sensor or lens, and Restoration of Vintage Footage: When working with damaged, older or vintage footage, noise, scratches, dust, and artefacts may be prevalent. Neat Video can be a valuable tool in cleaning up the footage without removing its nostalgic charm.

- Compression artefacts: Footage shot at low resolution, or on a low quality camera, may have blocky or pixelated video compression that can reduce the quality.
When wouldn't you use Noise Reduction?
As Noise Reduction tools need to analyze your footage with AI and intelligent algorithms, it adds a large amount of computing to your workflow. This can slow down your editing process considerably, so the best thing to do is try to avoid needing it in the first place by always aiming to record in a well-lit space with professional-grade equipment and correct camera settings. In short, if you don't need it, don't use it!
- Minimal Noise Levels: If your video has minimal or negligible noise, applying Neat Video might not yield significant improvements. In such cases, using the plug-in may be unnecessary, saving you processing time and resources.
Tips to get the most out of your Noise Reduction
- Use flat colors to build your noise reduction: Neat Video can detect noise and grain more effectively on a flat or plain surface (e.g. something that is all one color and shade). When building the noise reduction profile, use a frame in the video that has a large, uniform surface.
Note: Film something flat - If you are filming in conditions that you know will need denoising, either before or after you get the shot, point your camera to an object that has a large, uniform surface (e.g. a wall, table, etc.) - Pre-render your videos: As noise reduction can take a lot of processing, you can save a lot of CPU & GPU power by rendering out a denoised video of your source footage, then using your denoise version of the video to edit with.
